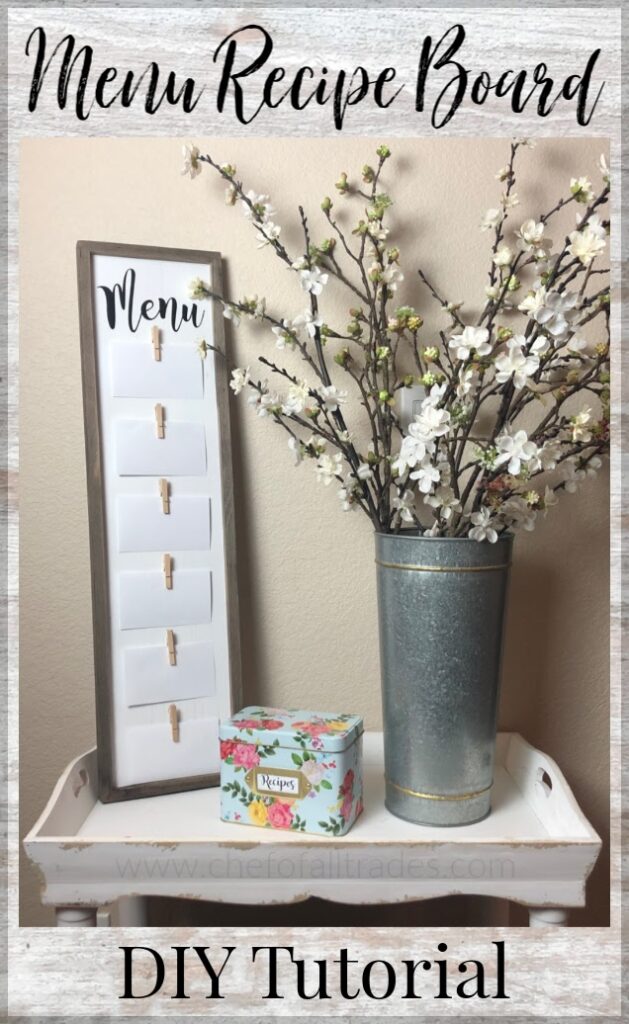
This farmhouse project keeps you organized, saves you tons of time, helps you stick to your budget and encourages healthy eating! Follow this step by step tutorial to create this super cute DIY Menu Recipe Board.
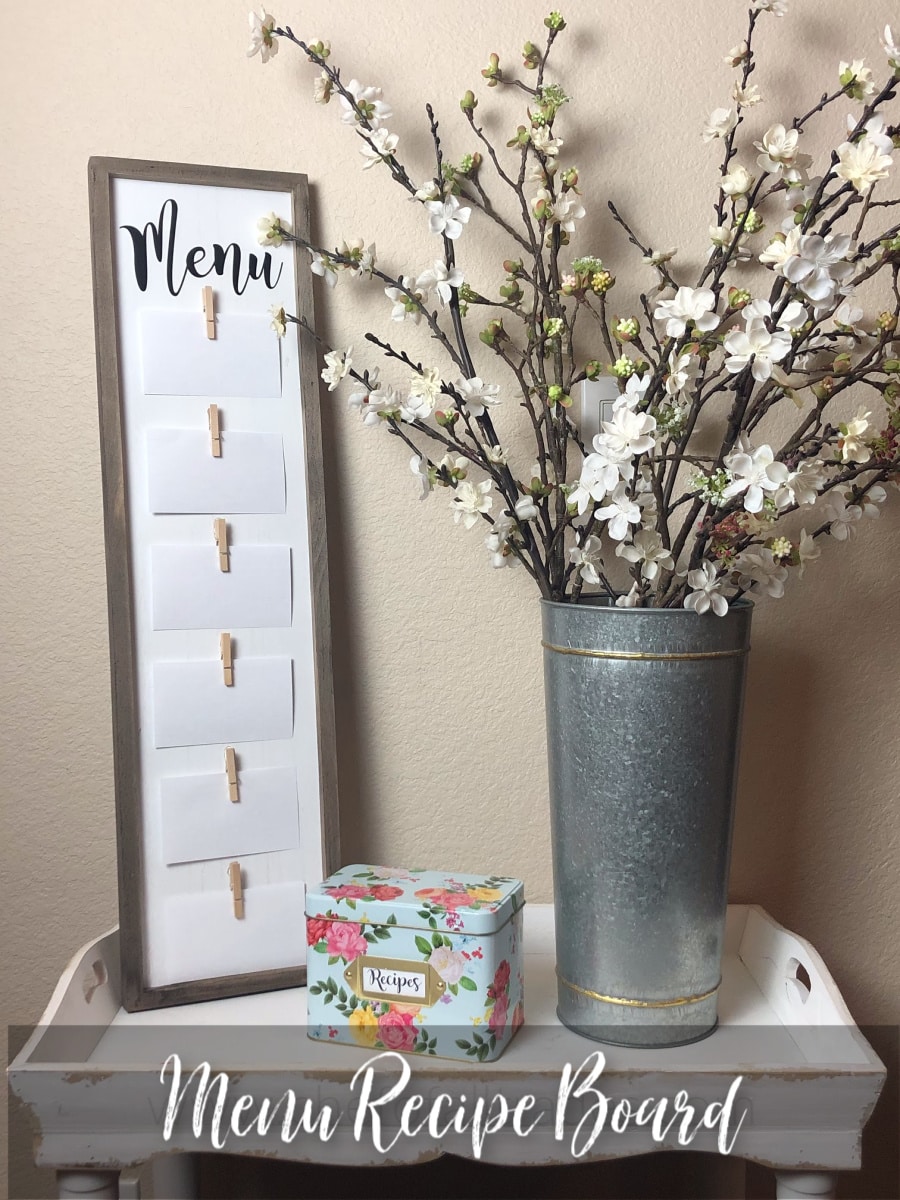
I originally came up with the idea for this DIY Menu Board when my friend showed me how she plans meals and makes grocery lists. I thought her idea was great but I wanted to expand on the idea and make it into something I could hang in my kitchen as a decoration. When I showed my friend what I did she loved it and asked me to make her one. She loved it so I figured y’all would too.
I knew it would look great, what I wasn’t expecting to happen was how much time it saved me menu planning, making grocery lists and even gathering all the ingredients when I’m about to begin cooking. It’s so much easier to carry an index card around the kitchen instead of a heavy cookbook or even laying the cookbook on the counter and constantly having to walk back to it see what I needed next. The small, lightweight cards are so much more efficient.
The other thing that was a great surprise was that this project has helped me remember what I bought to make because it’s right where I can see it. I save money because we are not wasting ingredients and we are not eating out nearly as much. I will take that as a WIN!
DIY Menu Board Pro-Tips:
- Gather everything you need from the tool list before you begin. It’s much more enjoyable to not have to get up and down to find what you need.
- In the tool list I added a link to each of the items I used. You can use them or make the project and colors match your decor.
- If you have the option available to you, shop online for your groceries with Walmart. I know some people have some reservations about getting bad produce and such but just try it. Walmart is amazing at giving you money back and credits. Shopping online ensures you stay on budget because it adds up as you add to your cart and it keeps you from putting items in your cart that you don’t need because you aren’t walking the aisles.
- This is a must, I’m begging you…..I would love to see your projects. If you use this tutorial to make your own Menu Recipe Board, please post pics. You can click my social links and post them on any of them.
- You may be wondering why there are only 6 cards, here’s why our lives are crazy so like to show myself some grace and assume that I will have to eat out at least once in the week. I budget for that one day and it gives me a light at the end of the tunnel knowing that at least one day in the week I don’t have to cook! Praise the Lord!!
DIY Menu Board Tutorial
Menu Board Supply List (Click the item name for links to the supplies):
- Plain Decorative Board with Frame
- 6 Miniature Clothes Pins
- Vinyl “Menu” Sign or Letter Stickers
- Transfer Tape (if using a vinyl sign)
- Hot Glue Gun
- Scraper
- 12 inch Ruler
- Pencil
- Copies of your favorite Cookbooks (Trim Healthy Table) & (Trim Healthy Mama)
- Avery Printable Index Cards (5388)
- Recipe Box
Instructions:
Step 1:
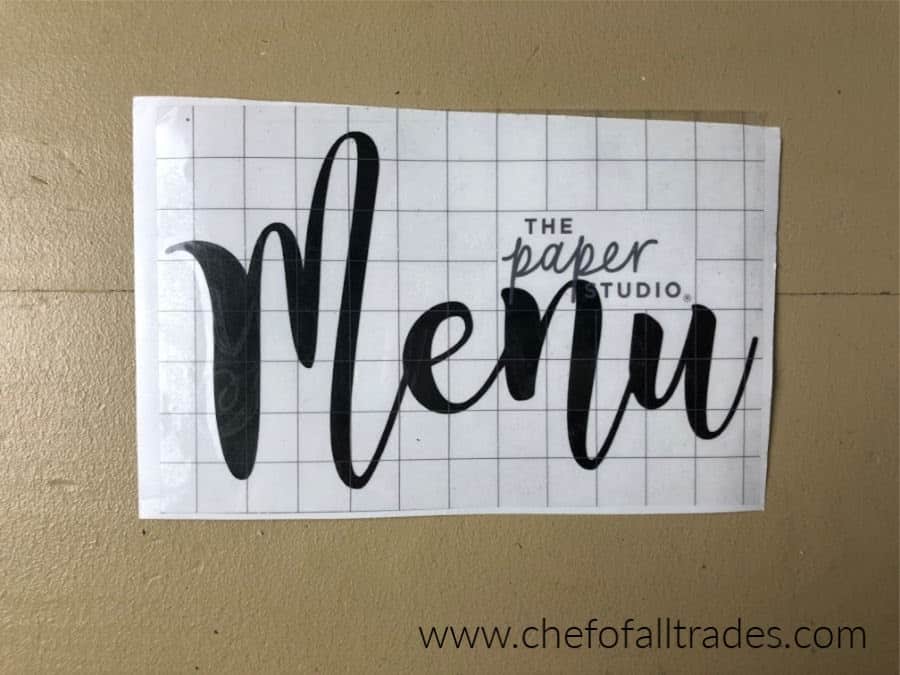
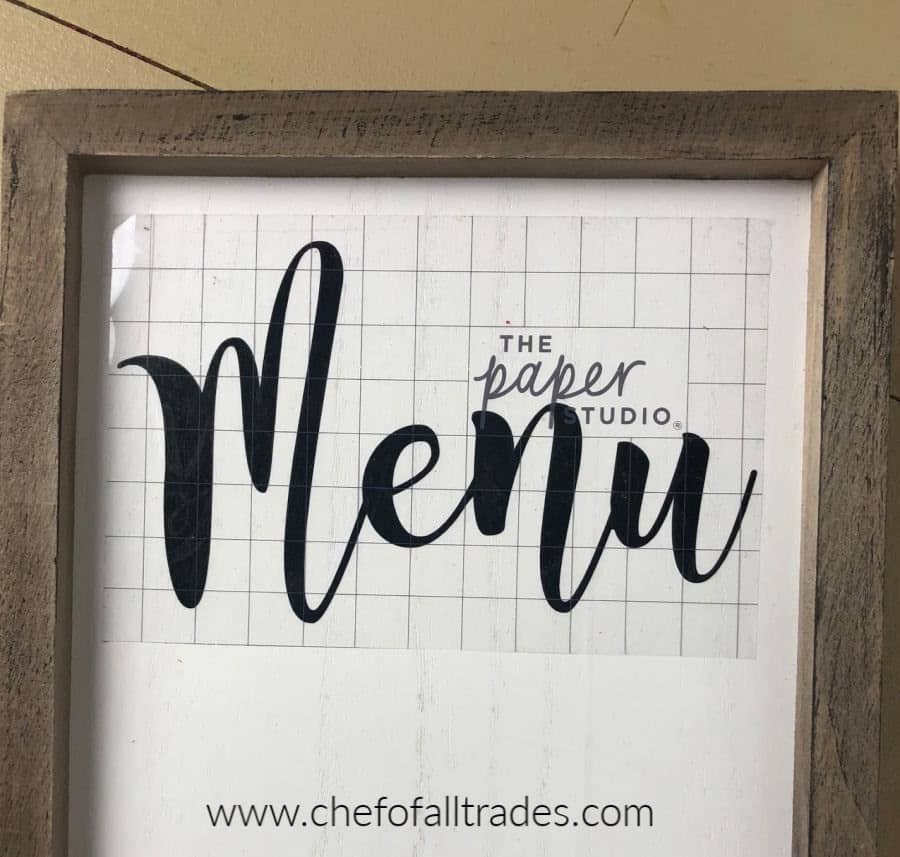
I used my Cricut Cutting Machine to create the “Menu” sticker out of Silhouette Vinyl in black. Measure the width of your board to determine how tall and wide your vinyl should be. I made mine 6 inches wide and kept the aspect ratio locked in design space.
For my font, I downloaded a free font from www.dafont.com called “Magnolia Sky”. Please note, I have very good security on my computer so please download at your own risk. I personally have never had an issue.
If you don’t have a die cutting machine you can purchase letter stickers in the font of your choice making sure the letters aren’t too big or small for the menu board you choose.
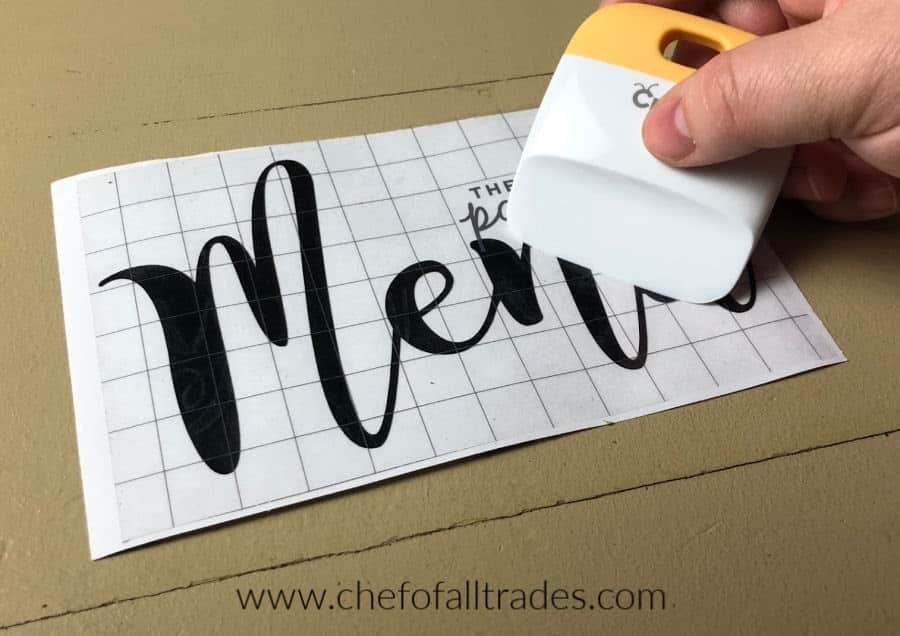
Step 2:
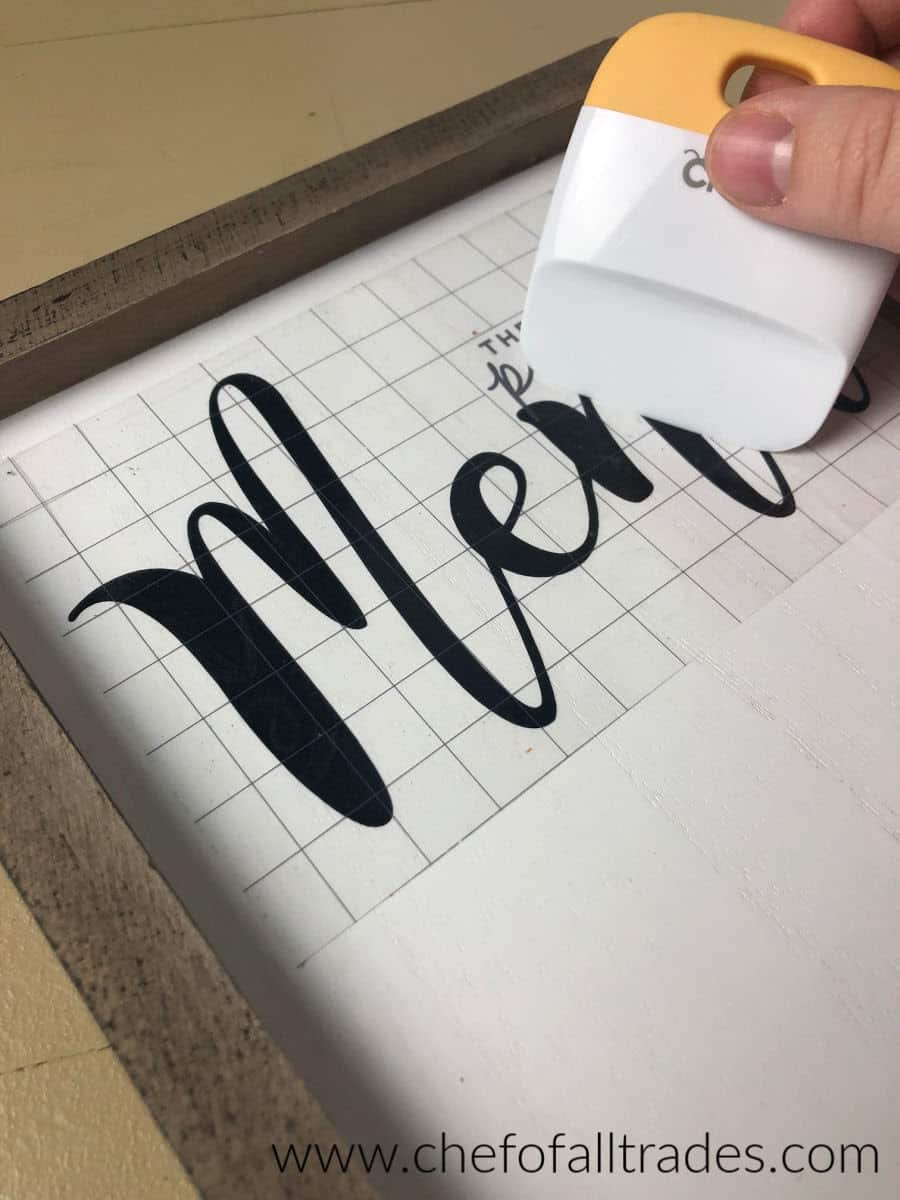
Use the transfer tape and place the sticky side down on top of the vinyl. Run the scraper over the transfer tape to secure the vinyl to the tape. Very carefully remove the backing from the vinyl to expose the sticky side.
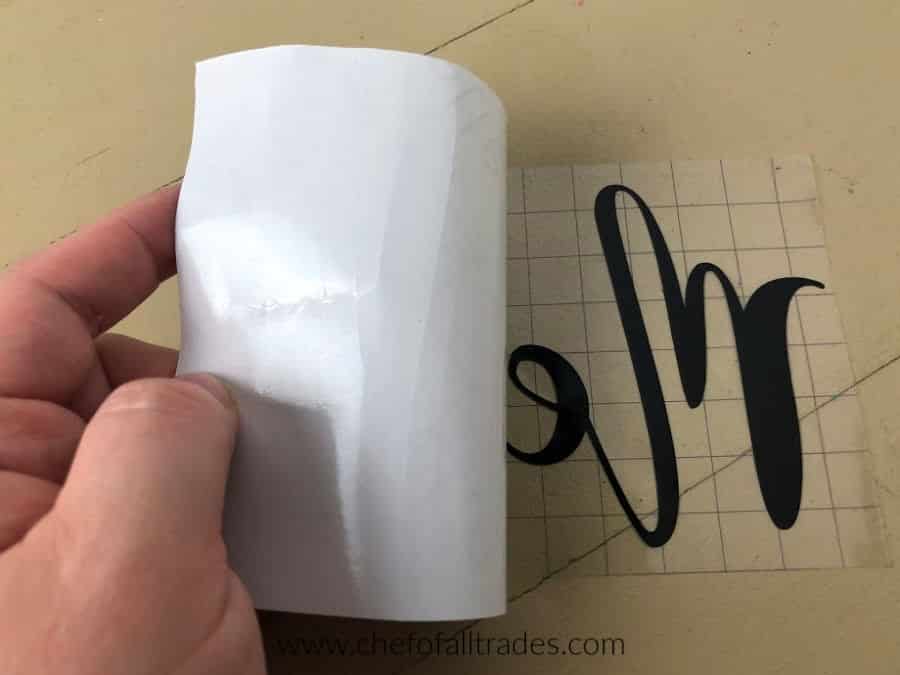
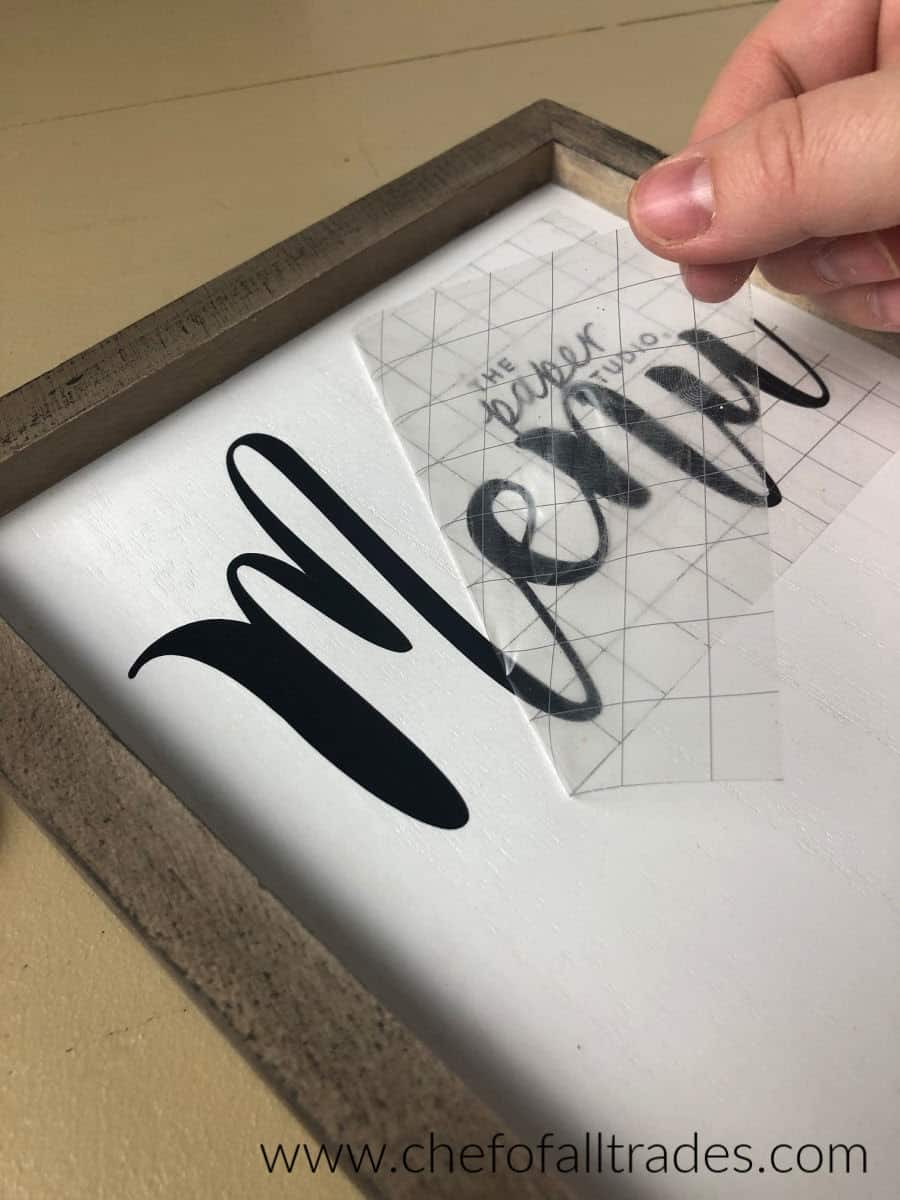
Center the word on the top section of the board. Make sure not to leave too much room at the top if you are using the linked board. Carefully remove the transfer tape.
If you are using stickers, simply place each one on the board. Use a piece of scrap paper to lay over the stickers and gently run the scraper over the paper to secure the stickers to the menu board.
Step 3:
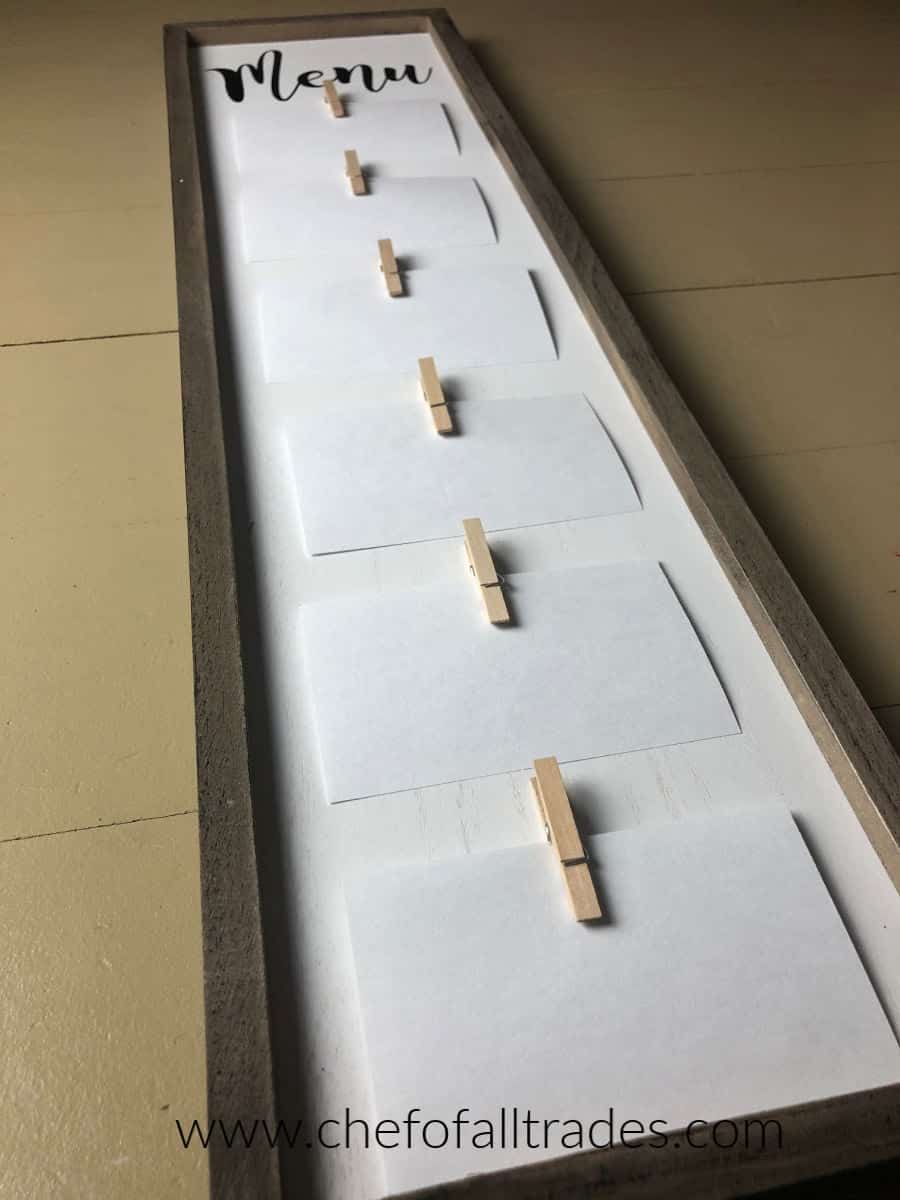
If you have a few loose index cards laying around, place one in each of the six clothespins. If you don’t have any loose index cards, use 2 of the Avery sheets and take them apart at the perforations. Once the cards are in the clothespins, place them on the board to get a rough idea of the correct placement and space them evenly apart.
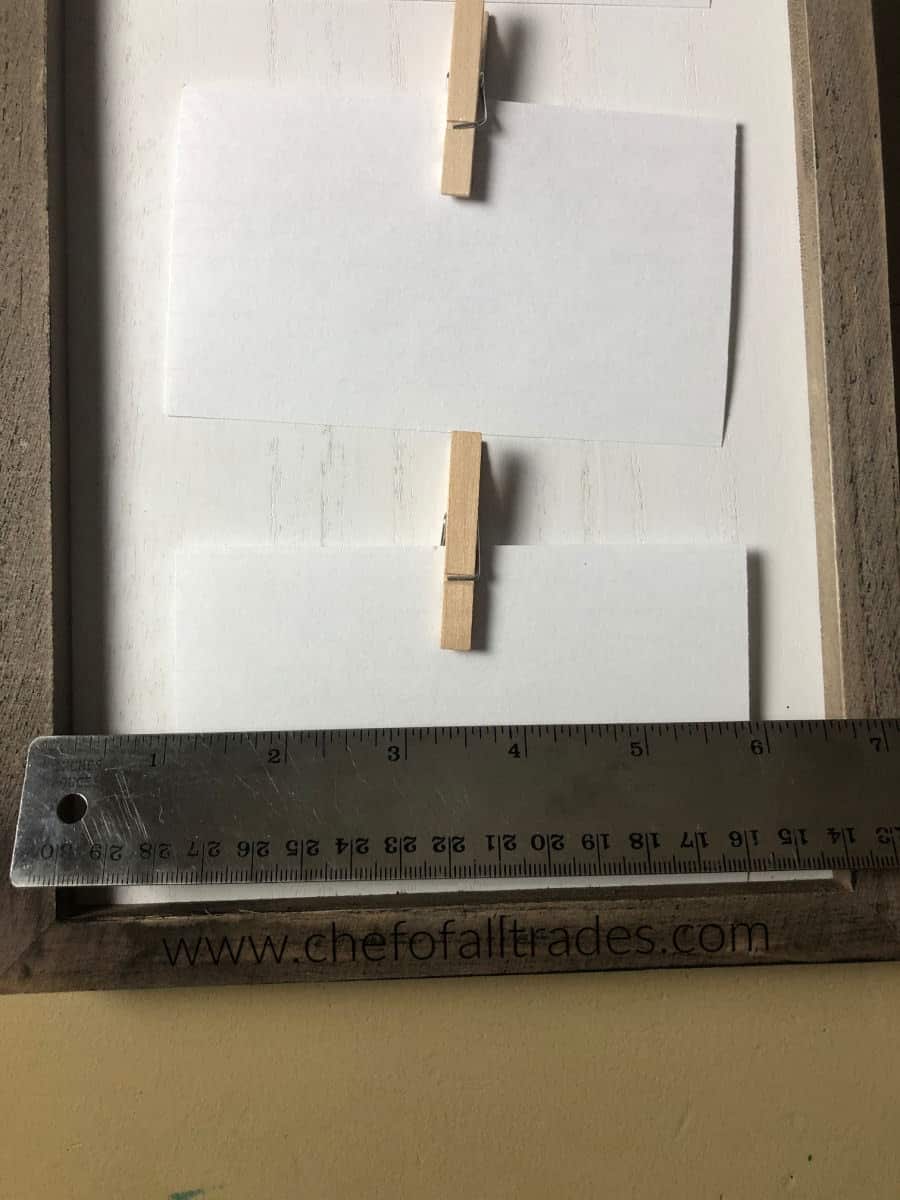
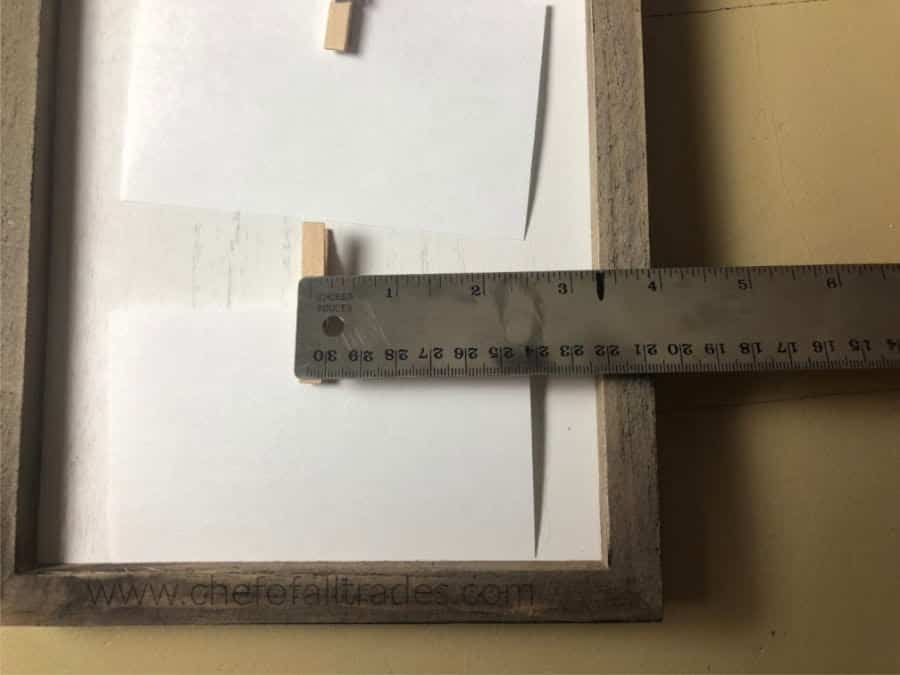
With the ruler, measure the width of your board from inside edge to the inside edge (just the white portion of the board) and divide it in half. Make a mark on your ruler at that ½ measurement. Place the ½ way mark on the right inside edge of the frame and line it up with the middle of the clothespin.
When the clothespin is at the first line on your ruler you will know it is exactly centered. Make a mark underneath the centered clothespin with the pencil and use that mark as a reference to place the clothespin back down once you’ve applied the hot glue. Please see the picture below and repeat this step with the remaining 5 clothespins.
Step 4:
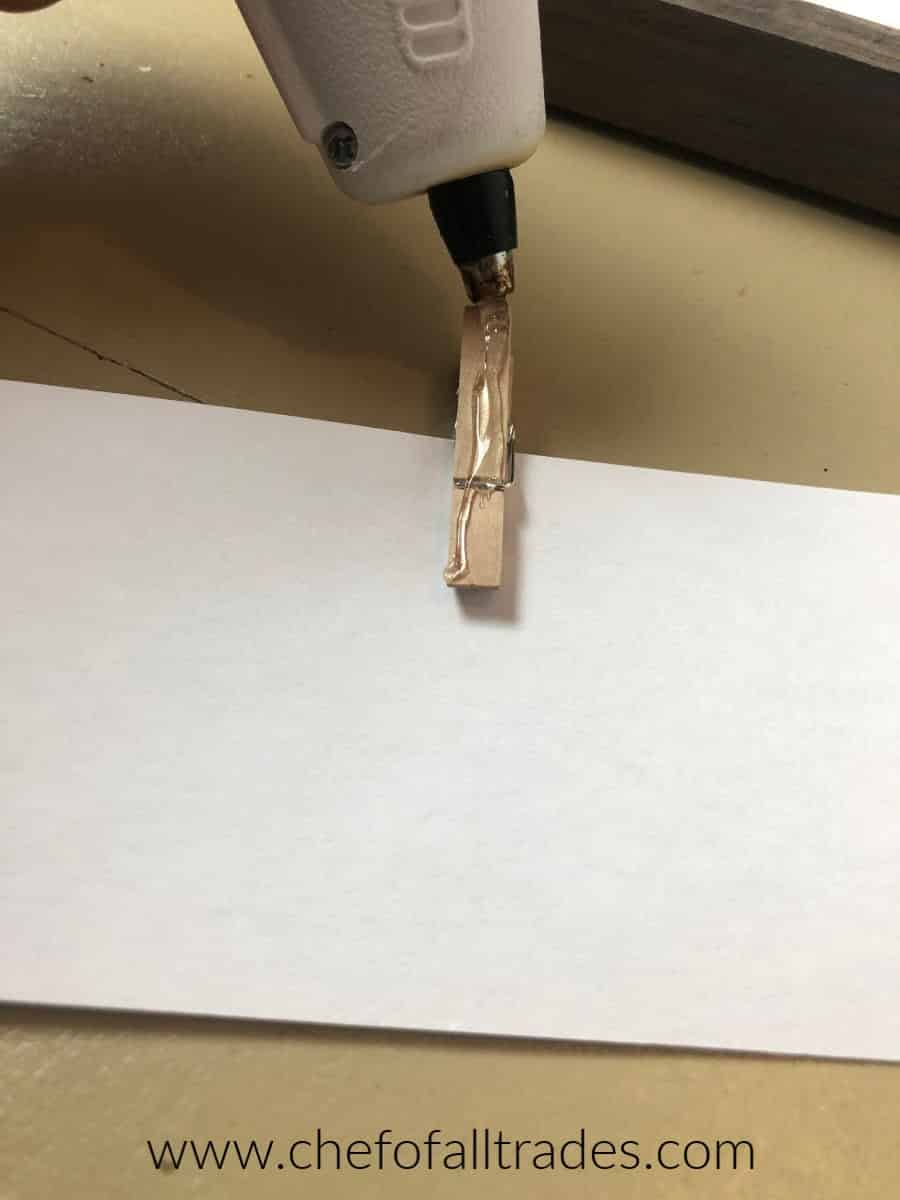
It’s time for the hot glue. Run a bead of hot glue along the back of each clothespin and place them each back on the reference marks you just made. Congratulations! You did it, you made your very own Menu Recipe Board!
Step 5:
I saved this step for last because it is by far the most time-consuming. Thank goodness my husband helped me with this step. It was really helpful to have a second set of hands but it isn’t necessary.
I first sat down and dogeared all of my favorite recipes as well as ones I wanted to try. I have 2 favorite cookbooks both of which are from the Trim Healthy Mama Program (linked in the supply list). Once I had all the recipes marked, I went on www.avery.com and created an account. Avery has all the templates for all of their products which makes it super easy to create each card.
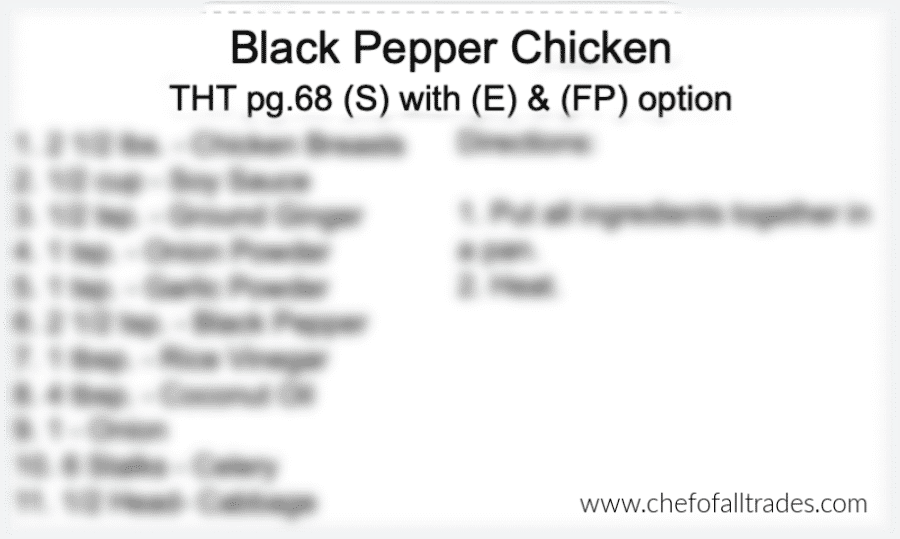
I added a text box to the top of each card where I placed the name of the recipe (Please see picture below). Under the recipe name I added another text box which contained the book the recipe was from and the page number. For the Trim Healthy Mama’s, the second line is also where I put the recipe type: (S), (FP), (E) or (XO).
Below that, I added a text box from the left margin to the middle and another from the middle to the right margin, creating 2 columns. Starting in the left column with numbered bullet points, I added the ingredients and the amounts of each ingredient, for example: 1. 2lbs. – Chicken Breast. I did not include recipe directions because my main objective for the board is menu planning and grocery list making so adding the book and page number is very helpful.
As I said before, this step requires a pretty big time investment but hear me when I say this, IT’S 100% WORTH IT!!! You can do it! I believe in you!
Leave a Reply