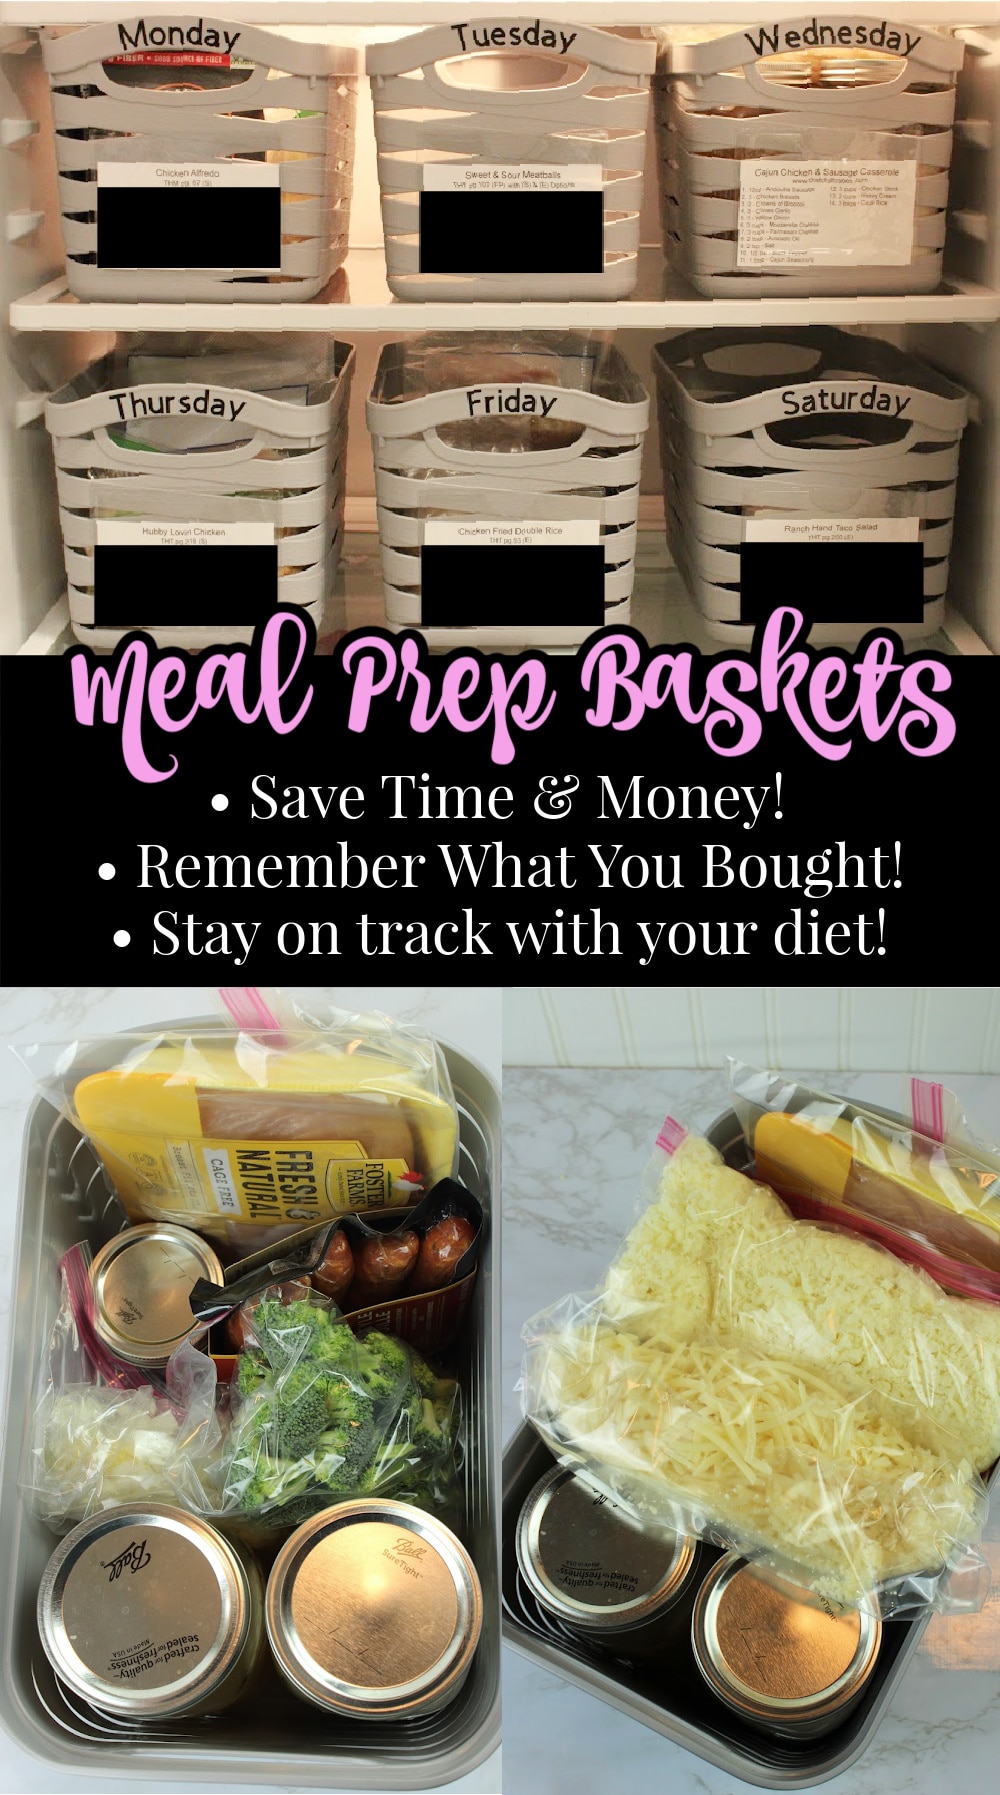
Use this, Meal Prep Baskets tutorial, to quickly & easily prep meals to make dinner time and your week a breeze!
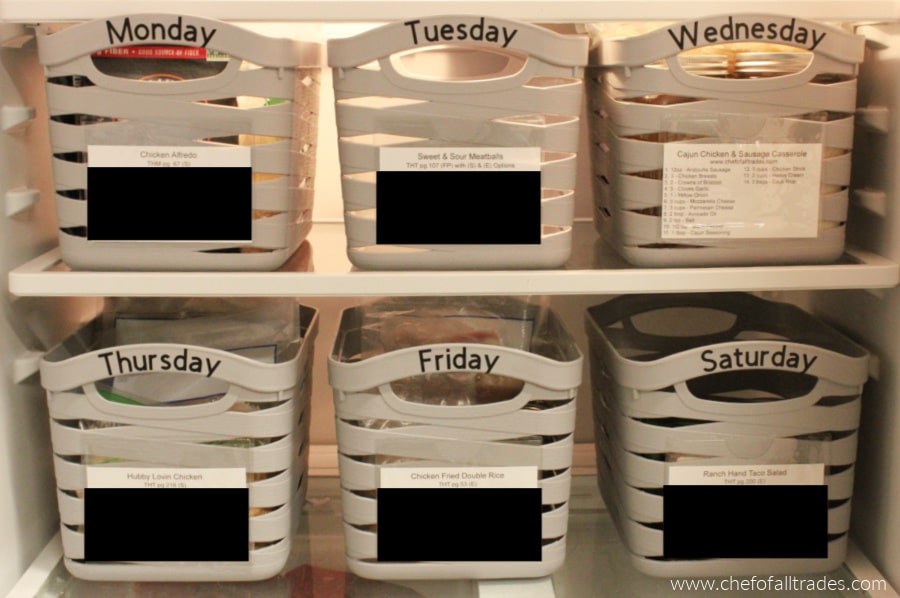
I am the worst at cooking dinner. By the time dinner time comes around I am so exhausted from all the homeschooling and housework, that cooking dinner is the very last thing I want to do. So inevitably, we ended up eating out which was killing not only our diet plans but our finances as well.
I can’t tell you the number of times my husband and I have had the, “We’d be rich if we stopped eating out!” conversation. So in order to stay on track and make dinner time easier, I have started making these Meal Prep Baskets.
We always prep our food after church on Sundays, so some time on either Friday or Saturday, my family and I sit down to watch a movie and decide what we want our meals to be for the next week. I use the index cards that I have made, which I will talk about later, with all of the ingredients for each recipe to place a grocery order for delivery. I always have the groceries delivered at about 3 pm on Sunday so that we can all take a little Sunday nap after church and lunch. It’s a nice break before we start prepping.
At first, I felt like I was wasting my time. 3-5 hours on a Sunday is a lot but let me tell you, that the amount of time it saves is well worth it. Have you ever had one of those moments where the present version of you is so grateful for what the past version of you did? Very philosophical. Every night at dinner, present me was definitely air high-fiving past me for all that prep. You won’t regret it and it does get easier as you start to establish your own rhythm.
This process has also solved a few other problems that I have recently discovered a lot of you also have. First of which is forgetting what you even planned to have for dinner and secondly, these baskets separate the ingredients you need for meals from the ingredients your family is allowed to have.
When I posted the pictures of these baskets on social media so many people were saying that they plan and they purchase meals but when they go to make dinner someone in the family has taken the ingredients needed. For some reason, I thought that problem was exclusive to our home but I couldn’t have been more wrong.
Now your family will know that the food in the baskets is off-limits and you will remember what’s for dinner because it says right on the front of the basket.
One other thing I have done is to make a snack basket so your family knows what snacks are available. I always hear, “We don’t have any snacks!” So I made a basket just for that and I hear that a lot less these days.
Meal Prep Baskets
A few things you are going to need:
Baskets – These are not the exact ones I have, but they are the same size and because they don’t have the curved portion on top I think they will fit in people’s refrigerators a lot easier. It’s also important to know that I have 4 people in my family and these baskets hold meals for the 4 of us perfectly. If you have a large family you might want to consider buying an extra set.
Recipe Index Cards
Recipe Card Pockets
Days of the Week Stickers or Labels
Gallon & Sandwich size zippered storage bags
A few things that are very helpful but optional:
8 oz Mason Jars
32 oz Mason Jars
Food Processor with a cheese grating option
Vacuum Sealer
Recipe Index Cards
When I originally made these cards, these meal prep baskets weren’t the plan but they have turned out to work perfectly. My regular readers know that my family and I follow a way of eating called Trim Healthy Mama. Most of my recipes on my blog adhere to that plan and also work out well for other diets such as Keto, Paleo, and Adkins. So naturally most of the recipes we love come from the Trim Healthy Mama cookbooks. You can check them out if you’re interested by clicking the link above.
About 3 years ago my husband and I took a few nights after the kids went to bed to look through the cookbooks and Pinterest and type all of our favorites recipes on index cards. It was a tedious process but so worth it.
We bought printable index cards from Amazon. They are made by Avery, 5388 is the number of the template we used on www.avery.com. Avery has made it super simple to make the cards. You only have to create the format you want once and by using the “edit all” button, the format is copied to the other index cards automatically. Make sure you choose the “edit one” option when adding recipes so you do erase all the work you’ve done.
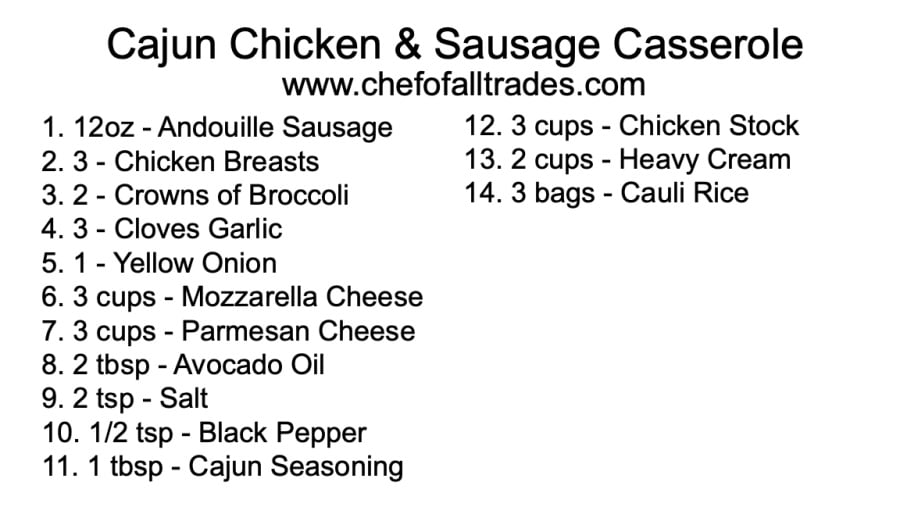
I didn’t type the whole recipe on each card, just the ingredients and the amounts of each ingredient. We also included the name of the recipe and where it could be found so we could easily access the recipe instructions when we are ready to cook.
I know that I am pretty extra so I know this might be too much for some people. If you’d rather, you can write out the information on regular index cards or even go as simple as just writing the recipe name on the card so you know what’s in the basket.
Here is an example of what one of the recipe cards looks like. Each section is just a text box I inserted on the Avery website as I talked about above.
“Day of the Week” Labels
Like I said above, the baskets I used are different from the ones I linked. The reason for that is because the baskets I have, have a curve above the handle which makes fitting them in the fridge a bit harder. The baskets I linked to, are the same size, but flat on top with an area for a label.
I have a Cricut machine and used it to cut the letters from black vinyl. Did I tell you I’m a little extra? I’m convinced it’s a disease, LOL. If you don’t have access to a Cricut machine, scrapbooking letter stickers from any craft store would work, you could print out address labels (also from Avery) with a pretty font, or for my not so crafty sisters, use a sharpie and write it right on the basket. There’s a way for everyone to do this.
Index Card Pouches
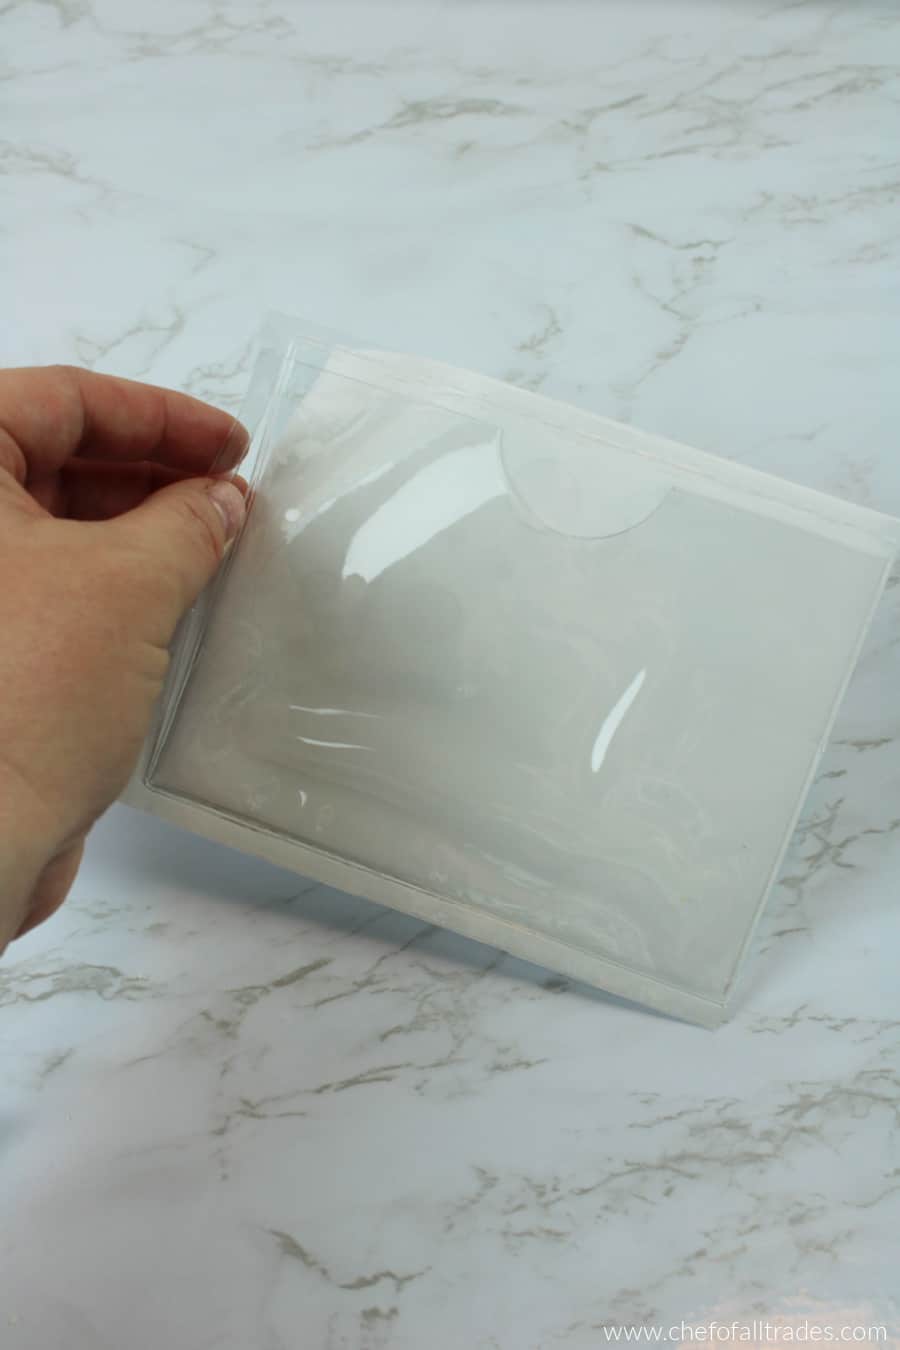
I am in love with these index card pouches I bought from Amazon. They come with 3 different sizes included. I used the biggest size which fits the Avery index card perfectly. The entire back is sticky which is helpful when sticking them to a basket.
There are a lot of other ways to get this done, velcro, tape, or mini clothespins. Do whatever is going to work best for you. It doesn’t have to be perfect or even pretty, just functional. Although, to me, everything is more fun when it’s pretty.
Ready, Prep, GO!
I have tried a few different ways of approaching prep. At first, I thought it would be more efficient to look at every recipe and count how many onions I would need and chop them all at the same time and continue doing that for every ingredient. This was a hot mess!!! It was super confusing and the ingredients all needed to be cut differently. Total Nightmare!
Through trial and error, I have found that for me one recipe at a time is the fastest way. I gather all of the ingredients for each recipe and prep them according to the recipe. I prepped a recipe basket to show you how I do it.
This Meal Prep Basket is for my Cajun Chicken & Andouille Sausage Casserole. It took me a total of 20 minutes from start to finish.
Meat
If I can help it, I don’t remove the meat from its packaging. However, we buy a lot of meat in bulk so sometimes that’s not possible. In this case, I had a small package of chicken that was the exact amount I needed and so was the andouille sausage. When I have to split meat up for these baskets I usually vacuum pack it to retain the freshness.
Vacuum packing is helpful but not necessary if you’re going to use the meat by the freeze by date. If you can’t vacuum pack the meat just use a zippered storage bag and remove as much air as possible.
If you leave the meat in its original package, put it in a gallon bag to prevent any juices from leaking out and making a mess.
Veggies
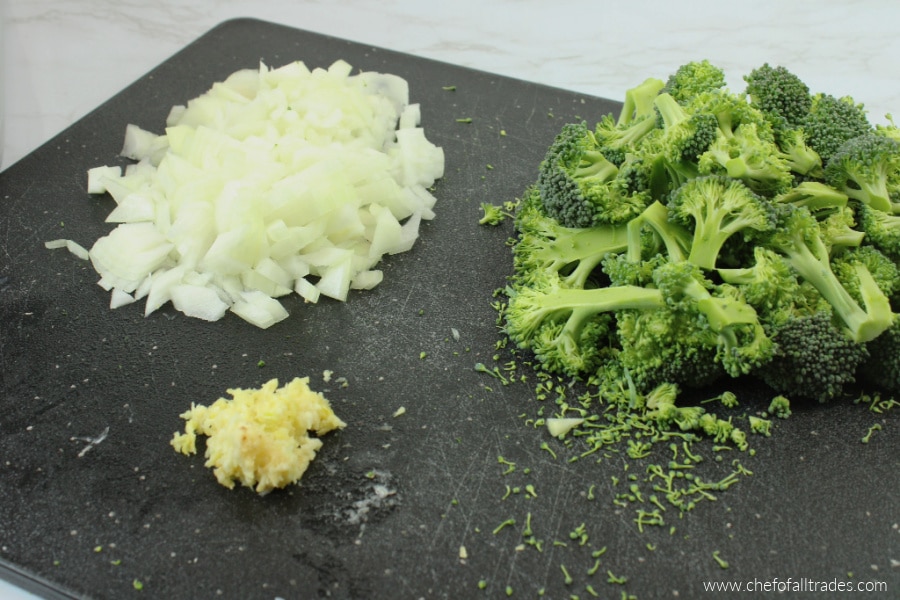
Just like with the meat, if you’re going to use the veggies within a week of cutting them they will stay fresh. Cut them according to the recipe and store them according to how they are added to the recipe. For example, this recipe calls for the diced onions to be sautéed separately from the broccoli so if I stored them together in the same bag that would cause a problem when I go to cook.
I did combine the onions and garlic because they are sautéed together. So just be aware of if things can be combined. Crockpot and InstantPot meals are the best because everything can get mixed together and dumped. Glorious!
Liquids
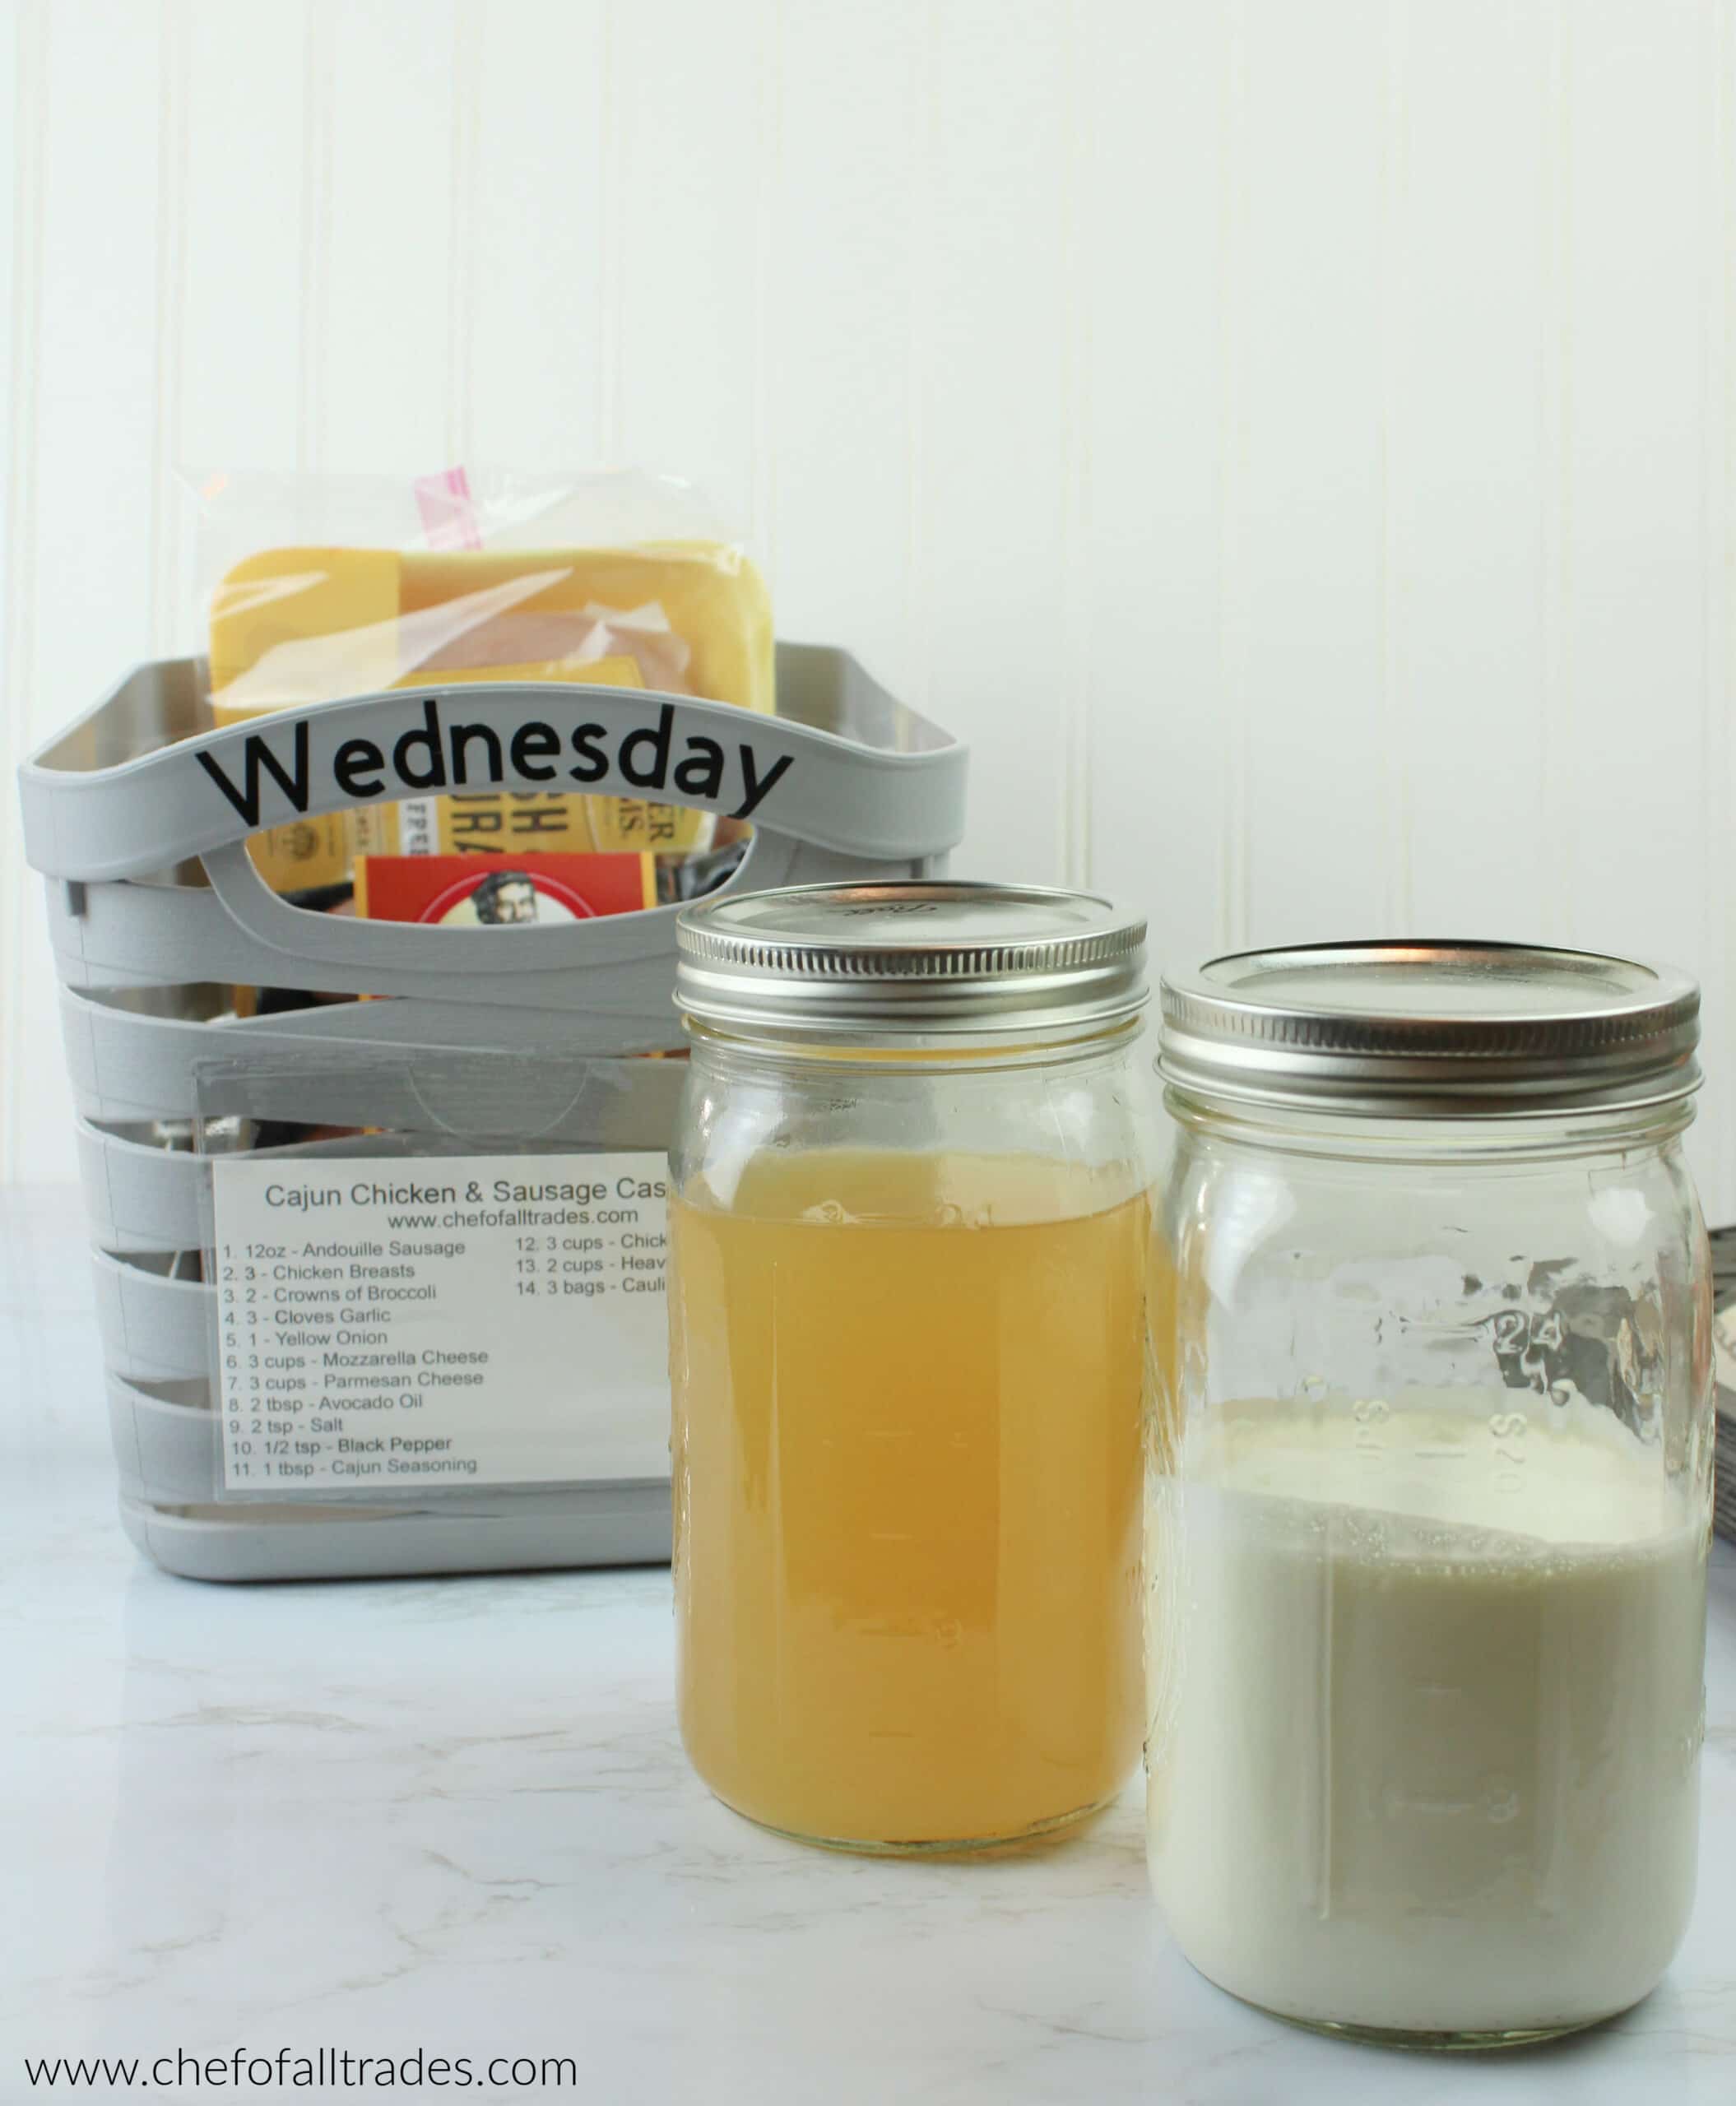
I store all my liquids in mason jars for a few reasons. One – I have 9 million of them because they are the cheapest glass storage option and two – because they have measurements on the side which eliminates the need for measuring cups. less measuring cups equals fewer dishes and fewer dishes on prep day is a victory!
If the liquids will fit all in one mason jar I will combine the liquids. If not, I keep them separate.
Spices
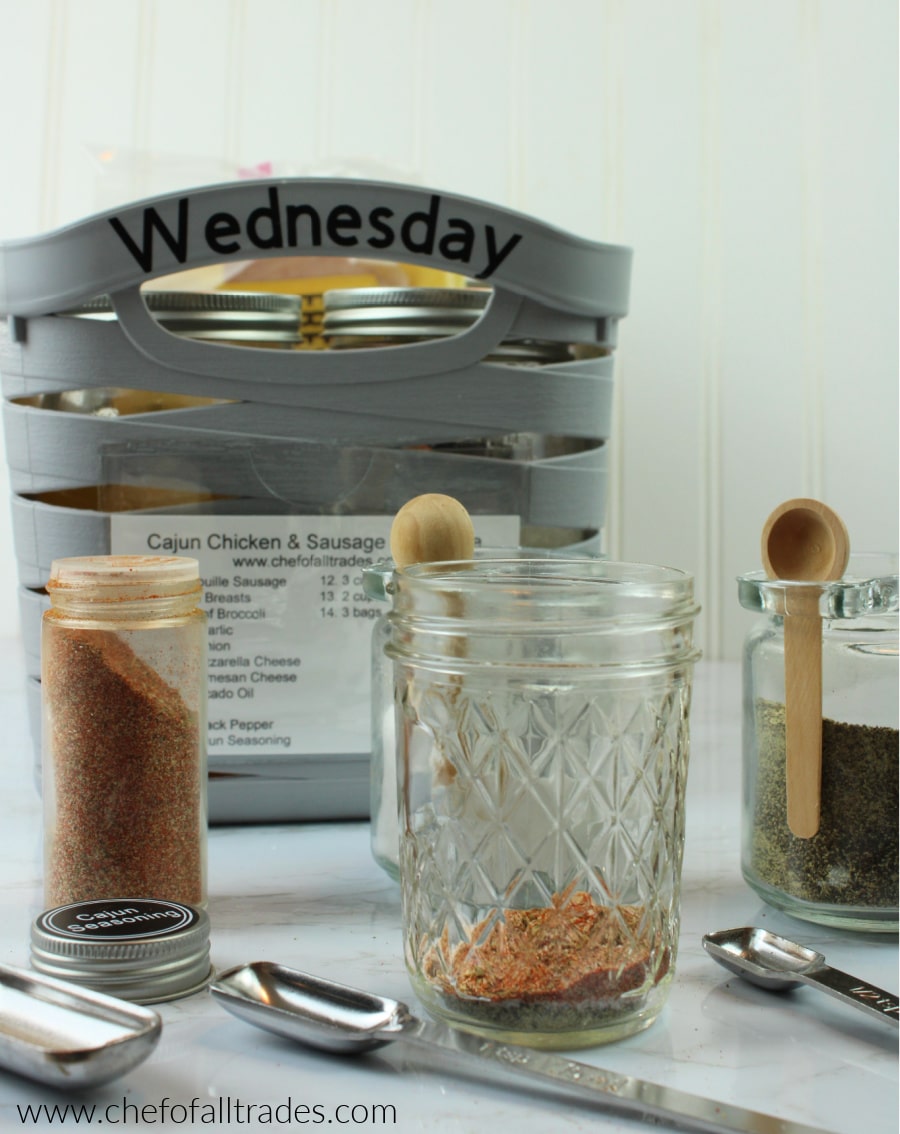
I mix all the spices together in the 8oz mason jars. I like to cut down on plastic bags if I can manage it. I will sometimes dump them right in with the meat if that’s where they are used in the recipe and if it’s a recipe that I have to package the meat myself because it’s being split up from a larger package.
Cheese
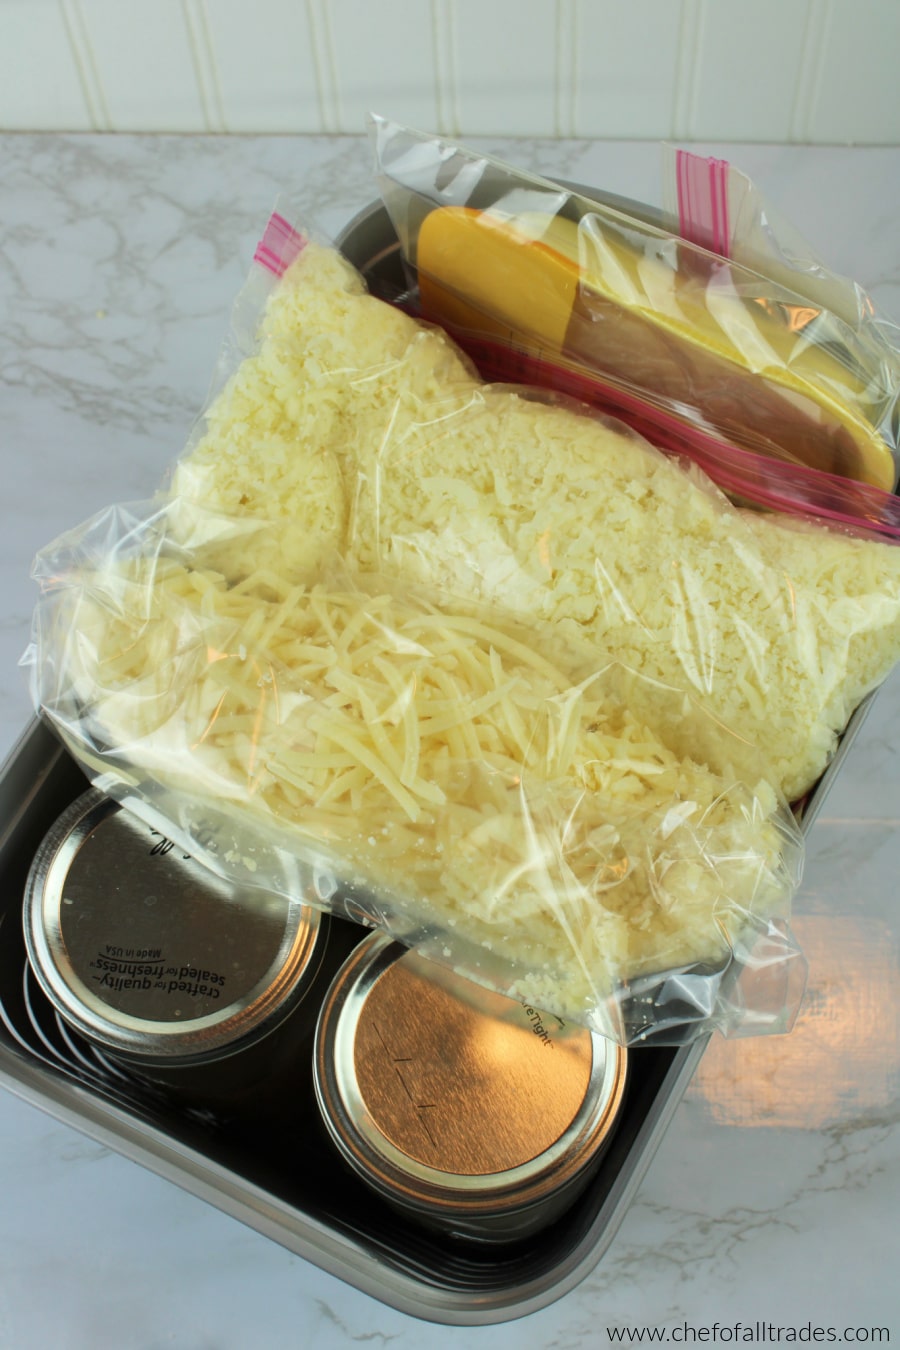
Whenever a recipe calls for shredded cheese I always shred it myself. Pre-shredded cheese has so many extra ingredients that I don’t like to use. So to make my life a little easier I bought a food processor with a cheese grating feature. I have it sitting on the counter to grate any amount of cheese I need during prep. It takes 10 seconds to shred a pound of cheese. Just like fewer dishes, saving time on prep day is also a huge victory.
I use zippered storage bags to store the cheeses and I always put them on top of the baskets so they don’t get smashed into one big clump.
Other Ingredients
The general rule of thumb I follow is to read the recipe and store the ingredients according to when it gets added. For example, if the veggies get added at the same time, store them together. If they get added at different times store them separately in the baskets. Simple.
I hope this idea helps you stay on track like it has for my family!
Use this image to Pin this Meal Prep Baskets Tutorial:
I can’t wait to try this. I think dieting will actually be doable with this method!
Yay!! That makes me really excited. Just knowing how much they have helped me and my family I can’t wait to see how they work for all of you!
I also follow THM! I think this is a brilliant idea! I can’t wait to try it for my family of 8!
THM is the best isn’t it!! I have a family of 4 and the baskets are the perfect size. For your family if of 8 you may have to put some things behind the basket but you should be okay for most recipes! Let me know if it works for you! I still can’t get over how easy dinner is. I get excited to cook because I know most of the work is done and in a short amount of time I’m going to be able to feed my family healthy delicious food.
What happens if I have some food that needs to remain frozen, but other ingredients that don’t need to be frozen how do you store those?
I just mark the package or the bag which day it’s for and put a reminder in my phone to defrost 2 days before.
I love this idea so much! Where can I find the recipes that you use for your baskets ? Would love to try some 😉 thank u
Hello! I found mine at Burlington Coat Factory but I linked some in my post from Amazon that are very similar.
I was looking for some ideas on this and oh my goodness yours is the most detailed! Thank you so, so much!
This is an absolutely amazing idea! So often I buy ingredients and then forget to make what I had planned before the ingredients go bad. This would eliminate that problem. Thanks so much for sharing! 🙂
How do you have room in your fridge with 6-7 baskets at a time in there?
Hello! I probably wouldn’t be able to do it if I didn’t have an extra fridge in the garage. There might be some different kinds of baskets, like more low-profile ones that might work better especially if they stack.
I don’t have enough room in my fridge. How do you? I only ask because I’d love to do this. I think I would actually stick to my meal prep and diet if I could manage this in my fridge.
I know this is an old post, but I’m curious how you would handle frozen veggies. I buy a lot of frozen veggies because they’re cheaper and and more standard quality than the fresh.
Hello, If it were me I would portion out the frozen veggies needed for that recipe, write on the container what day of the week they are for and place them in the freezer. I would also put a note in the basket for that day that the veggies are in the freezer. LOL. I would forget!
Now that I’ve started meal planning, I’ve been looking for a way to organize things better. This looks like a great system. Thank you!
(and fyi – the link for the recipe card pouches goes to a different item now. It was easy enough for me to search for others on Amazon, though)
That’s awesome. I’m so glad this helps! Thank you for the comment and letting me know about the link, I will have to fix that.
Great idea! Cuts down on hot water and dish soap use too as you are only washing the cutting board, knives, etc., once and not each night! To eliminate further waste, one could use reusable bags or more jars for the cheese and veggies instead of the plastic Zip-lock bags.
Sometimes when I have an upcoming crazy week, I go so far as to cook all the meals on the Sunday, sometimes plating them and the leftovers of that meal go into the freezer for a later date. A lot of beef meals last 4-5 days in the fridge, chicken 3-4, fish/seafood a day or two so I would plan according to shelf life once cooked.
That’s true, it definitely cuts down on a lot of waste. Thank you for your comment!
Thank you for this, it’s a great idea for keeping me on track with food prep. Instead of mason jars I have glass jars that have been for jam and honey previously – it’ll take time but I’ll mark on them the basic measurements – can use my measuring jug and water.
I think this will be good enough storage.
Thanks